
With the increase in remote work, video conferencing, and online streaming, the demand for high-quality webcams has skyrocketed. While many people use built-in webcams on their laptops or desktop monitors, these often lack the quality and flexibility that a dedicated webcam can offer. One way to overcome this limitation is by using a digital camera as a webcam. This guide will provide a comprehensive overview of how to use a digital camera as a web cam, covering the necessary equipment, software, and setup process.
I. Why Use a Digital Camera as a Web Cam?
A. Improved Image Quality
Larger sensors
Better low-light performance
Greater depth of field control
B. Enhanced Flexibility
Various lens options
Manual exposure and focus control
Multiple camera angles and positions
C. Cost-Effectiveness
Use existing equipment
Avoid purchasing a dedicated webcam
Upgrade options for better performance
II. Necessary Equipment
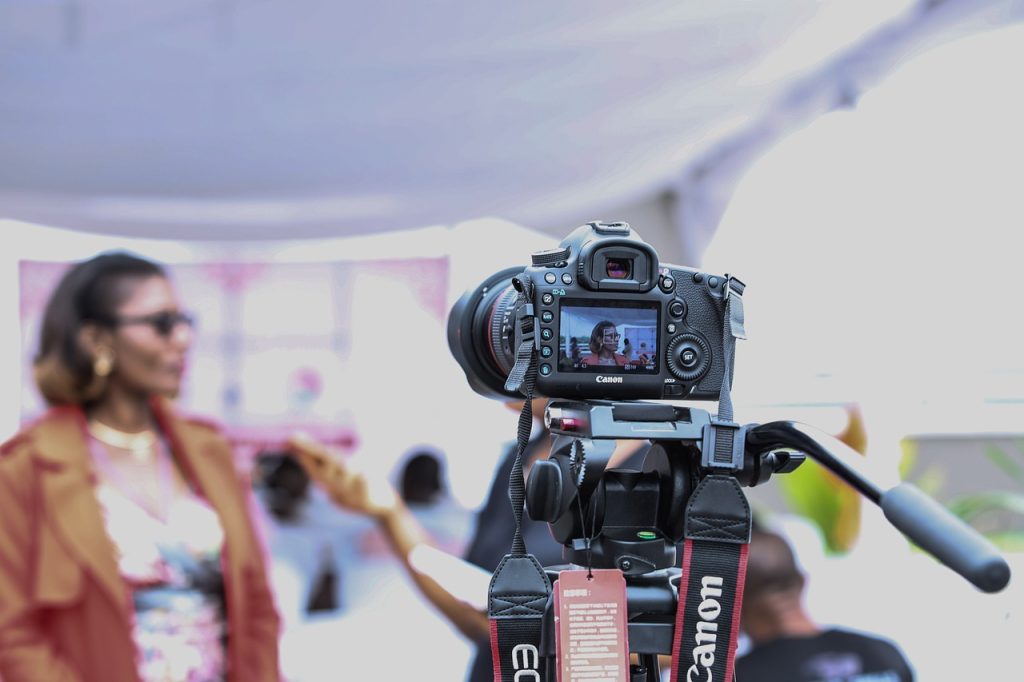
A. Compatible Digital Camera
DSLR, mirrorless, or compact camera
Clean HDMI output
Support for live video streaming
B. HDMI Cable
Type of cable depends on camera model
Mini or micro HDMI to standard HDMI
Length based on setup requirements
C. HDMI-to-USB Capture Device
Converts HDMI video signal to USB
Popular brands: Elgato, AVerMedia, Magewell, etc.
USB 3.0 or USB-C for better performance
D. Continuous Power Source
AC power adapter
Dummy battery with DC coupler
Ensure compatibility with camera model
E. Tripod or Mounting Solution
Adjustable tripod
Desktop clamp or stand
Position camera at desired height and angle
III. Software Setup
A. Camera Control Software (Optional)
Control camera settings remotely
Popular options: Canon EOS Utility, Nikon Camera Control Pro, Sony Imaging Edge, etc.
Adjust exposure, focus, and white balance
B. Video Conferencing or Streaming Software
Zoom, Microsoft Teams, Skype, etc.
OBS Studio, Streamlabs OBS, XSplit, etc.
Select camera as a video source
IV. Setting Up the Camera
A. Camera Settings
Set camera to video mode
Choose appropriate resolution and frame rate
Disable on-screen information display
Manual focus, exposure, and white balance
B. Connecting the Camera
Attach HDMI cable to the camera
Connect HDMI cable to HDMI-to-USB capture device
Plug capture device into computer’s USB port
C. Powering the Camera
Insert dummy battery or connect AC power adapter
Plug power source into wall outlet
Turn on the camera
V. Configuring the Software
A. Camera Control Software (Optional)
Open software and connect to the camera
Adjust settings as needed
Monitor live video feed
B. Video Conferencing or Streaming Software
Open software and select video source
Choose HDMI-to-USB capture device
Configure video settings (resolution, frame rate, etc.)
VI. Positioning the Camera
A. Tripod or Mounting Solution
Attach camera to tripod or mount
Adjust height and angle
Ensure stability and secure setup
B. Framing the Shot
Rule of thirds
Eye-level camera position
Minimize distractions in the background
C. Lighting Considerations
Natural
Natural Light
a. Use available sunlight
b. Position camera near a window
c. Avoid direct sunlight and harsh shadows
Softening Natural Light
a. Use sheer curtains or diffusers
b. Reflect light with a white surface
c. Control light direction with blinds or shades
Combining Natural Light with Artificial Light
a. Fill in shadows with lamps or light panels
b. Balance color temperatures for a natural look
c. Adjust camera white balance to match lighting conditions
VII. Tips for Better Video Quality
A. Maintain a Clean Lens
Regularly clean the lens with a microfiber cloth
Use a lens cleaning solution if necessary
Avoid touching the lens with fingers
B. Optimize Camera Settings
Choose the right aperture, shutter speed, and ISO settings
Adjust white balance to match the lighting
Experiment with picture profiles or color grading
C. Use an External Microphone
Improve audio quality by using an external microphone
Popular options: USB microphones, lavalier mics, or shotgun mics
Position the microphone close to the subject
VIII. Troubleshooting Common Issues
A. Camera Not Detected by Software
Ensure camera is powered on and connected
Check HDMI and USB connections
Restart the computer or try another USB port
B. Poor Video Quality or Lag
Use a faster USB connection (USB 3.0 or USB-C)
Ensure capture device supports the desired resolution and frame rate
Adjust camera settings for better performance
C. Overheating Issues
Use a continuous power source instead of batteries
Avoid direct sunlight or hot environments
Ensure adequate ventilation around the camera
Conclusion
Using a digital camera as a web cam can significantly enhance video quality and provide greater flexibility compared to a traditional webcam. With the right equipment, software, and setup, you can easily transform your digital camera into a powerful web cam for video conferencing, streaming, and more. By following the steps and tips outlined in this guide, you can ensure a professional and high-quality video experience that stands out from the crowd.


